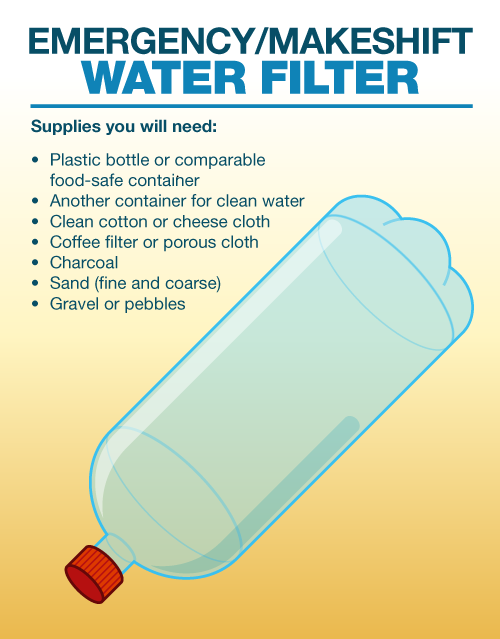
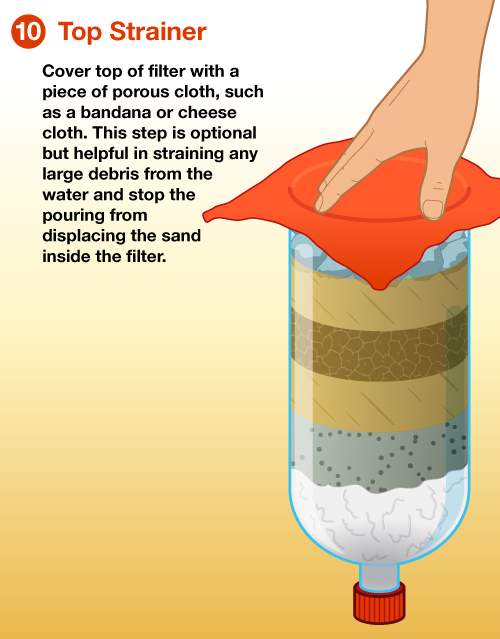
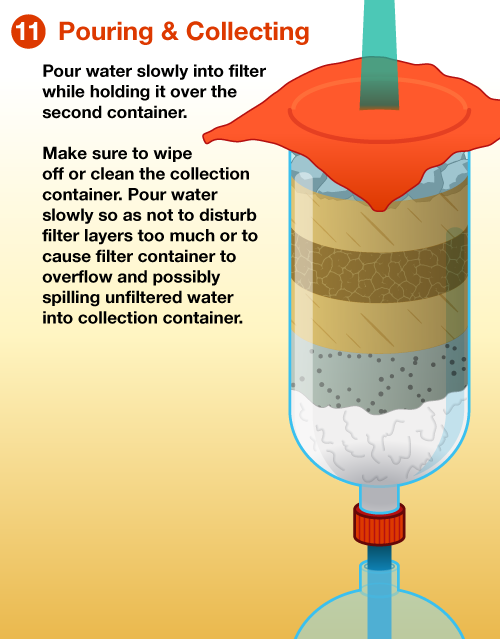
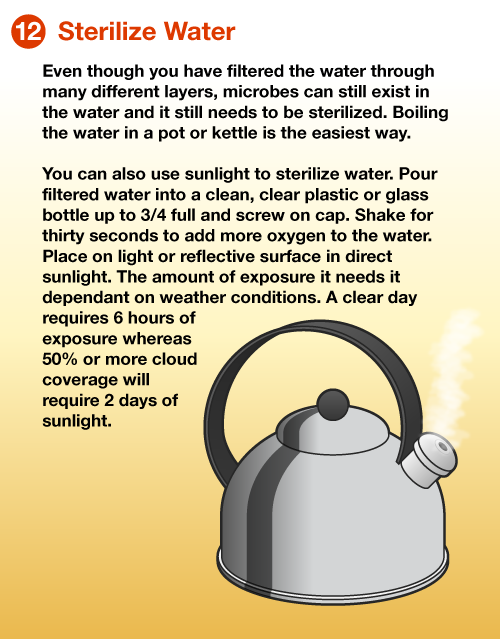
Make an Emergency/Makeshift Water Filter
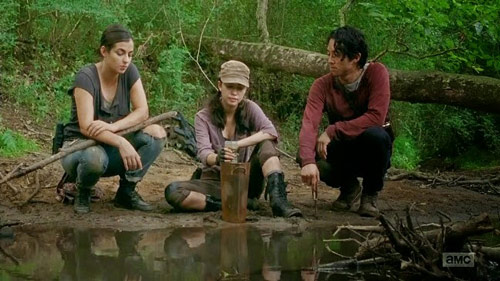
On a Season 5 episode of the popular, post-apocalyptic television show “The Walking Dead” a group of survivors find themselves out of clean water in an unfamiliar area. The character Rosita makes a DIY water filter by cutting off the bottom of an empty plastic bottle and filling it with sand and rocks. She then begins to slowly pour cloudy water from a nearby stream through it. The episode didn’t show the necessary step of sterilizing the water after filtering (whether through boiling, disinfection with a chemical agent such as bleach, or UV exposure to sunlight).
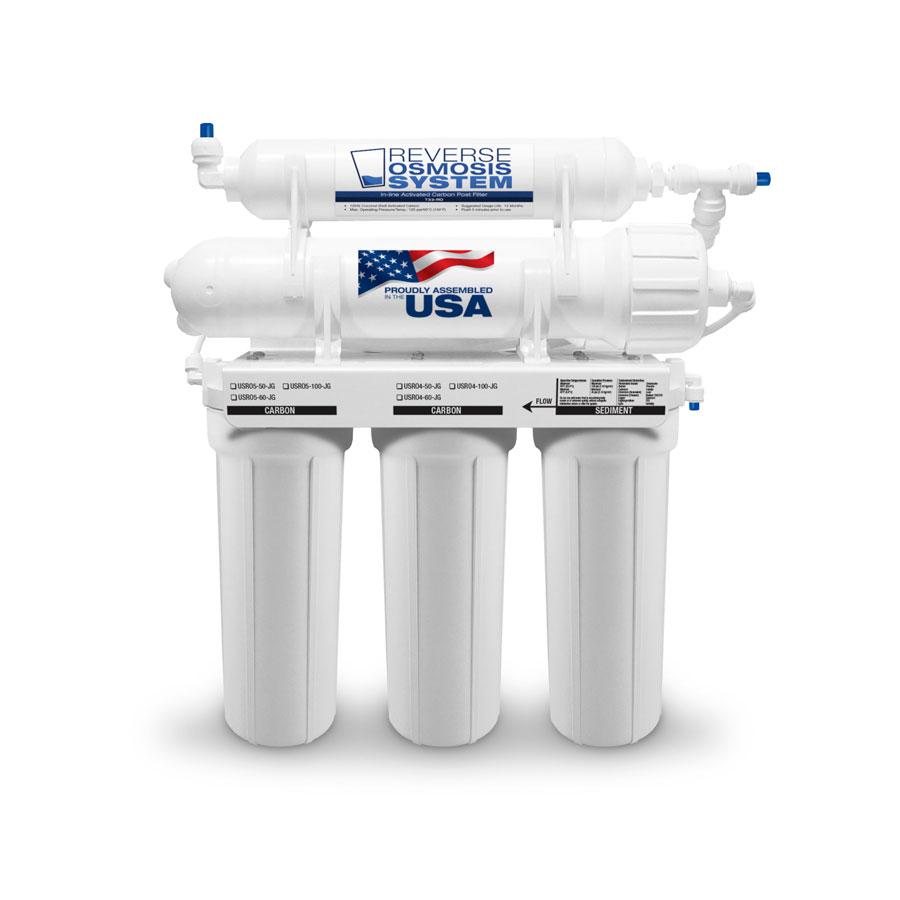
This DIY water filter method does work and can keep you heathly if clean potable water or a manufactured water filter system are unobtainable. It is important to try and find the cleanest water available, and under no circumstances should you try and filter sewage runoff or irradiated water using this process. In a non-emergency situation, a reverse osmosis system, under sink system, countertop or gravity filter would be the way you would want to filter your drinking water.
How to Make a Simple DIY Water Filter
A homemade filter can improve clarity, taste, and odor by reducing visible particles and some chemicals. It cannot make untreated water universally safe to drink. For health protection against microbes, boil water at a rolling boil for 1 minute after filtering.
If you are at elevations above 6,500 feet, boil for 3 minutes. For long-term use, choose a certified water filtration system. Below are the water filter materials you need and the steps.
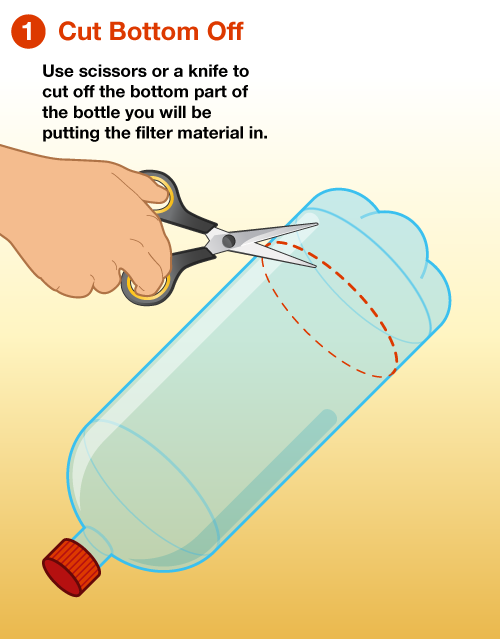
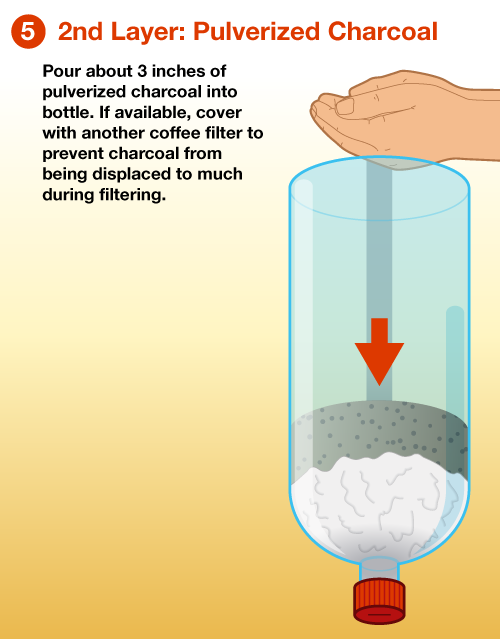
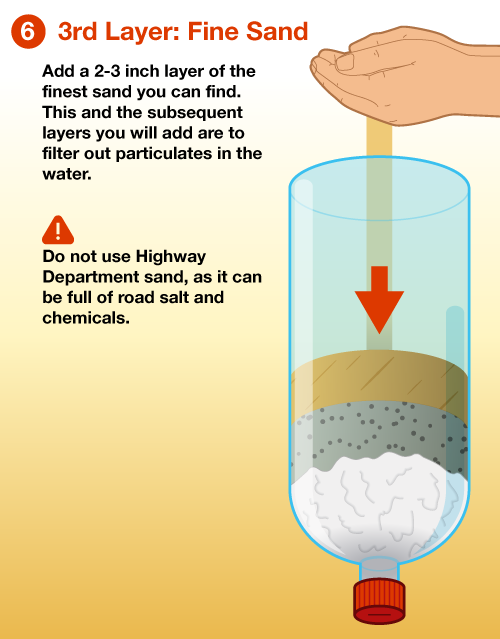
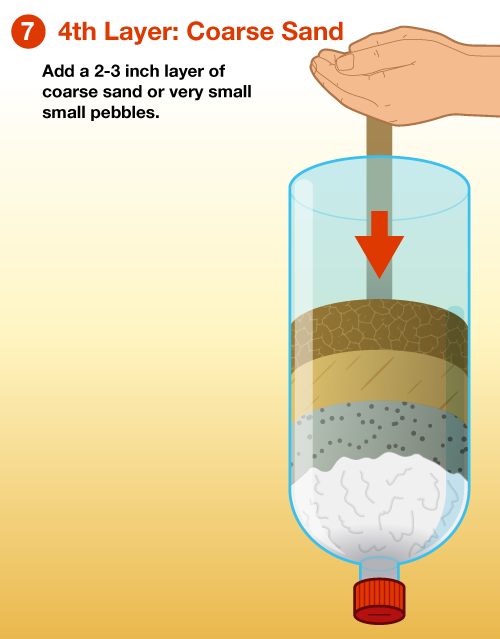
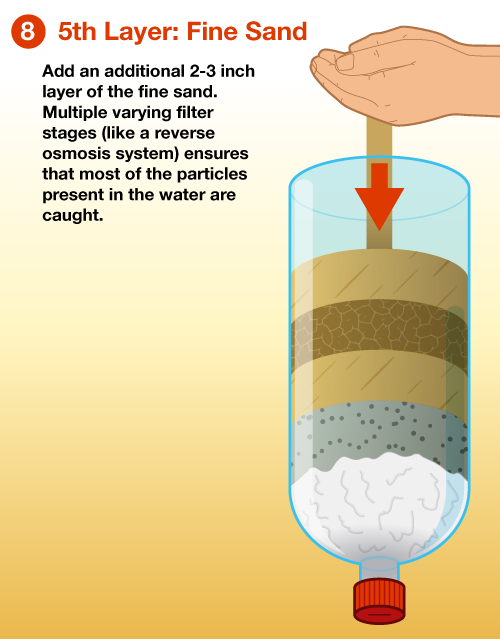
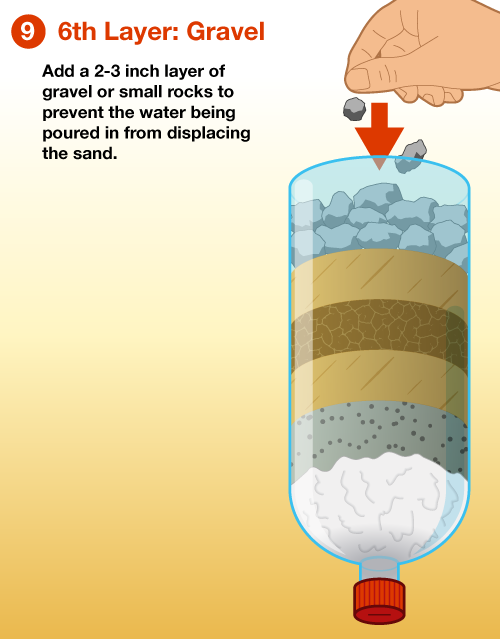
Water Filter Materials and Steps

Why do these layers help?
- Gravel catches larger particles.
- Sand traps small sediment for clearer water.
- Activated carbon reduces chlorine and some organic compounds and improves taste and odor.
Limitations


Why do these layers help?
- Gravel catches larger particles.
- Sand traps small sediment for clearer water.
- Activated carbon reduces chlorine and some organic compounds and improves taste and odor.
Limitations
DIY filters do not reliably reduce microbes, dissolved salts, heavy metals, PFAS, or all chemicals. Use certified systems when water quality is uncertain or when contaminants are known to be present.
Better every day options
For daily drinking water, consider a carbon under-sink system for taste and odor, a reverse osmosis system for dissolved solids, or a whole house carbon system for every tap. Select capacity and cartridges that match your water source and usage requirements.
Q&A on DIY Water Filters
Q: Will a DIY filter remove bacteria and viruses?
A: No. It improves clarity and taste but does not reliably remove microbes. Always boil or use a certified purifier.
Q: Can I use charcoal from a grill instead of activated carbon for a DIY filter?
A: No. Use food-grade activated carbon specifically designed for water treatment. Grill charcoal can contain additives and is not safe for drinking water filtration.
Q: Does boiling replace the need for a filter?
A: Boiling kills microbes but does not remove sediment or chemicals. Filtering first improves clarity, then boiling enhances safety.
Q: What if my water has a chlorine taste?
A: Activated carbon is effective for reducing chlorine and improving taste. An under-sink carbon filter is a reliable everyday solution.
Q: Is sand from outside safe to use for a homemade water filter?
A: Only use clean, rinsed sand sold for aquariums or filtration. Outdoor sand can introduce contaminants.
Q: Can a DIY water filter help with sulfur or rotten egg smell from a well?
A: Activated carbon may help with odor, but persistent sulfur typically needs targeted treatment. Consider a system designed for well water issues.
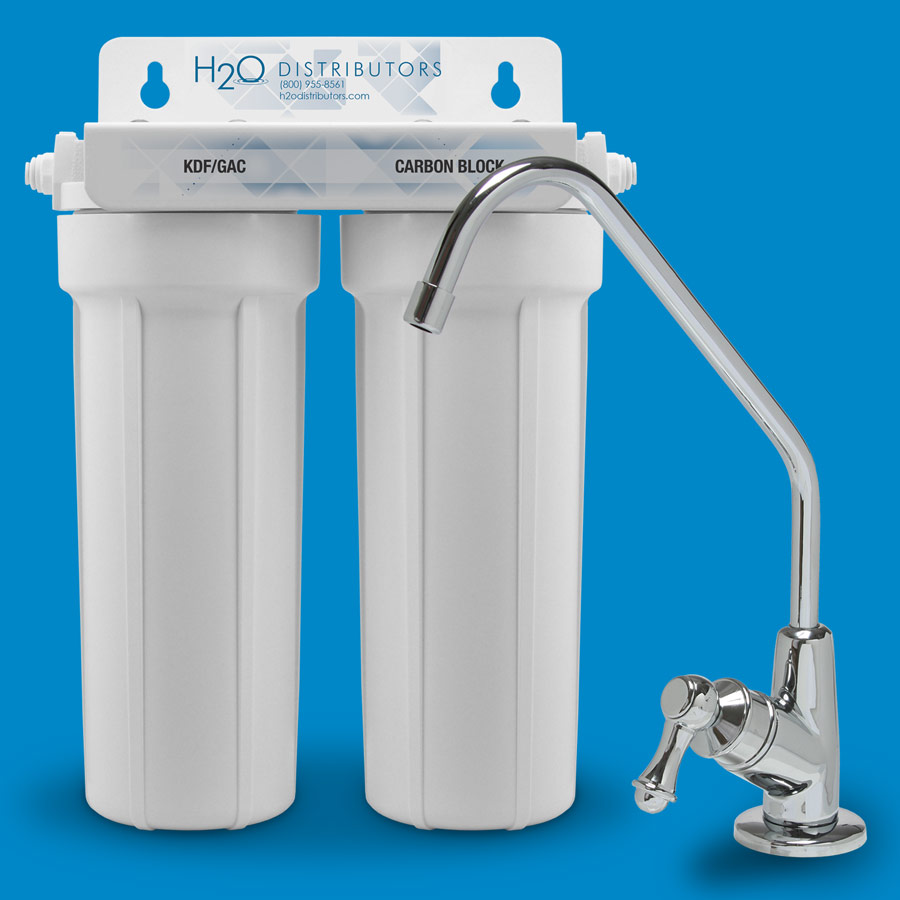
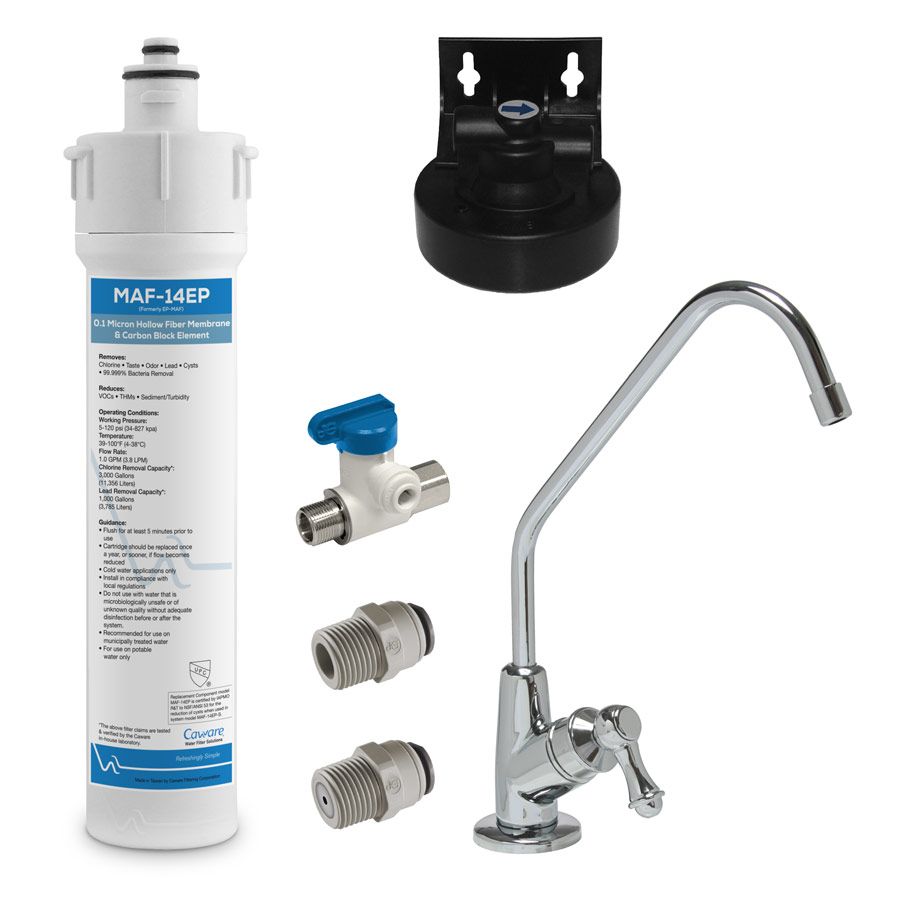
Browse some of our popular systems:
A Homemade Water Filter Isn’t Working? Shop for Water Filtration Systems, Water Filters, and Parts Now Ready for water you will love to drink every day? Contact H2O Distributors for assistance in selecting the ideal under-sink, RO, or whole house system for your home.

A boil-water advisory or boil-water order is a public health advisory or directive given by government or health authorities to consumers when a community’s drinking water is, or could be, contaminated by pathogens.

Learn how to make an emergency water filter for disaster situations out of some common items.
This method does work and can keep you heathly if clean potable water or a manufactured water filter system are unobtainable.

The Hydrologic Cycle (also called the Water Cycle) is the continuous movement of water in the air, on the surface of and below the Earth.
This cycle is the exchange of energy which influences climate. When water condenses, it releases energy and warms the environment.

90% of the garbage floating in the Earth’s oceans is plastic and less than 5% of all plastic is recycled.
The patch mostly consists of pelagic plastics, formed from plastic bags, plastic water bottles, bottle caps and styrofoam.

Hydraulic fracturing (sometimes referred to as fracking or hydrofracking) is a relatively new form of natural gas extraction.
The fluids used in the fracking process flow back to the surface, often entering the water table or polluting the drilling area, and sometimes improper disposal of waste water from the wells.

As our technology advances, so do new forms of pollution and contaminants that effect our environment and our health.
Read more about drinking water contaminants and their health effects.
Chlorine has long been recognized as an oxidative agent, meaning that it not only kills the germs in the water supply; it will damage any living tissue with which it comes in contact. And your skin, like the rest of your organs, is living tissue. But that’s not the only problem.
Since the discovery of its health benefits in the mid-1940’s, fluoride is often added to the public water supplies of industrialized countries in order to reduce the populations tooth decay, which is especially effective in low income communities, where good dental hygiene may be too costly.

Chromium-6 was found in the drinking water supply of the southern California town of Hinkley and brought to national attention by Erin Brockovich.
The EPA is reviewing effects of Chromium-6 after a recent report brought to light dangerous levels in a number of major US cities.

Giardia is a flagellated protozoan parasite that colonizes and reproduces in the small intestines of humans and other animals, which can cause giardiasis.
Symptoms of Giardiasis usually show after 3 to 4 days, and include gastrointestinal and constitutional problems.
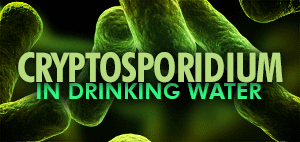
Cryptosporidiosis is a disease caused by the parasite Cryptosporidium parvum.
Since a outbreak in 1993 in Wisconson, new attention has been focused on determining and reducing the risk for Cryptosporidiosis from community and municipal water supplies.
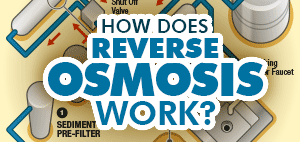
What is reverse osmosis? What is a 4-Stage system? What are the components in a system? Visit our ‘How Reverse Osmosis Works‘ guide to find the answers.
Also see out list of contaminants RO removes and comparison chart for particle sizes to learn more about reverse osmosis.

What is ultraviolet light? Do I need to filter the water before the UV process? How exactly can light kill organisms?
Visit our ‘How Ultraviolet Purification Works‘ guide to find out how it works.

The typical water softener is a mechanical appliance that’s plumbed into your home’s water supply system. All water softeners use the same operating principle: They trade the minerals for something else, in most cases sodium. The process is called ion exchange. More…

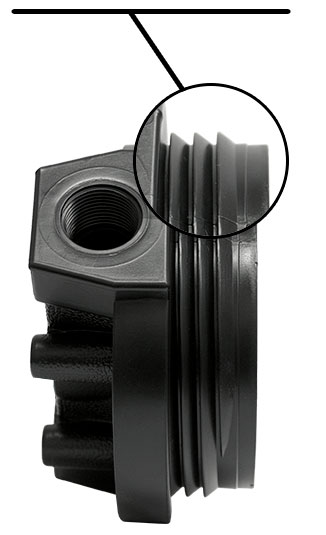
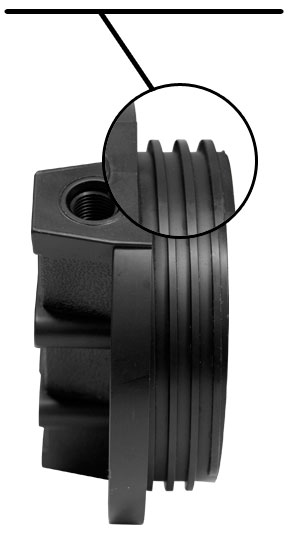
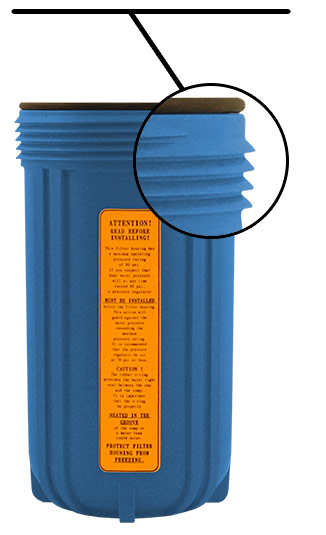
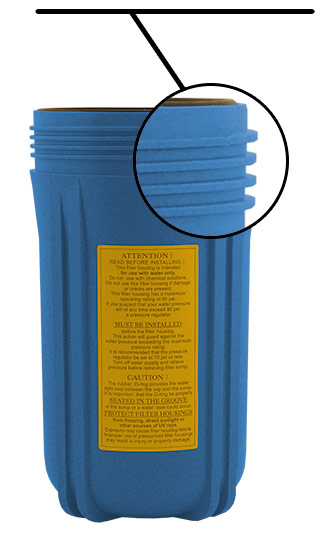
Step by step instructions on installing replacement cartridges and sanitizing filter housings. It is highly recommended that you clean and sanitize your system once a year.
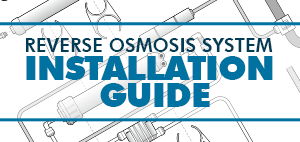
Need help installing your new RO system, how to perform maintenance, or how often to change your cartridges?
View our printable Reverse Osmosis Installation Guide to learn more.
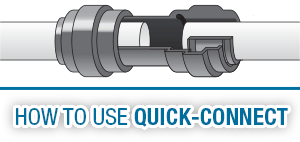
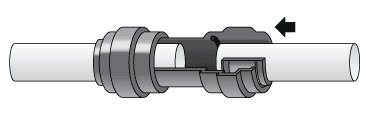
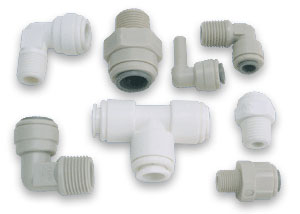
Step by step instructions on making a connection with Quick-Connect fittings. Quick-connect fittings allow you to connect and disconnect tubing without the need of tools. For larger, plumbing size fittings read our using twist lock guide.
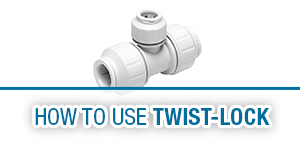
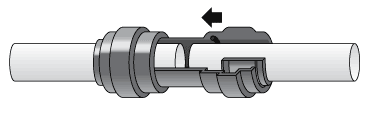
Step by step instructions on making a connection with Twist and Lock fittings. Twist-Lock fittings allow you to connect and disconnect tubing without the need of tools.
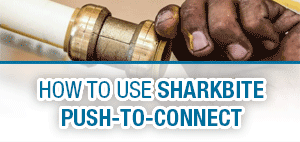
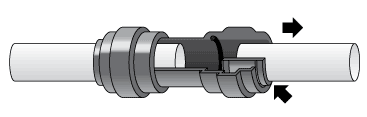
Step by step instructions on making a connection with SharkBite Push-To-Connect fittings. SharkBite fittings allow you to connect and disconnect pipes without the need of using PVC glue or welding copper.

Need to filter water but not sure about the differences between or applications of our systems?
Use our Water Filter Systems Guide to find out which system is best for your filtration needs.
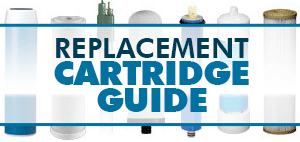
Need to replace your system’s cartridges but not sure what type is best for your system?
View our Cartridge Replacement Guide or contact us to find out what you need.

View a chart comparing the specifications of all the reverse osmosis systems we sell on this site. All bladder tanks are NSF certified.

The size of your water softener depeneds on the total grain per day that need to be removed.
This is determined by the number of people in your household, grain per gallon (GPG) hardness and the amount of Iron present in the water.

A micron is a unit of measurement for how small of particles a filter will catch. The lower the micron size, the tinier the ‘holes’ in the filter cartridge are that allows water to pass through, ranging from 0.1 absolute to 150 microns.
Use our Pore Size Efficiency Guide to find out what micron size to use.

Pleated sediment cartridges remove dirt, rust and sediment from water while providing an increased surface area and longer life. Pleated filters down to 5 microns are washable and reusable.
Use our Pleated Sediment Cartridge Comparison to find the filter cartridge you need.
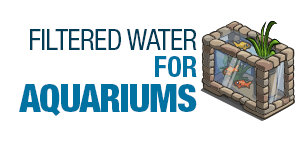
Aquariums need three types of filtration to maintain a healthy environment for freshwater, saltwater or amphibian aquariums (sediment filtration, carbon filtration, and removal of biological contaminants).

When traveling around the state or the country in a RV you might not always know where you will be getting the water from or what might be in it. Water that is stored in a RV holding tank will not stay potable for long and can become a breeding ground for algae and bacteria.
Chemicals added to public water supplies, like chlorine, can be harmful to the living cells of plants.

When brewing beer with tap or bottled water, chlorine and chloramine present in the water can combine with malt phenols in the wort to create a compound called chlorophenol, which can give the beer a medicinal taste.
View our Filtered Water for Home Beer Brewing guide.

Bottled water requires a lot of resources to manufacture and ship, and costs a lot more than reverse osmosis water.
Use our Bottled Water Cost Calculator to find out how much of an impact you have on the environment.