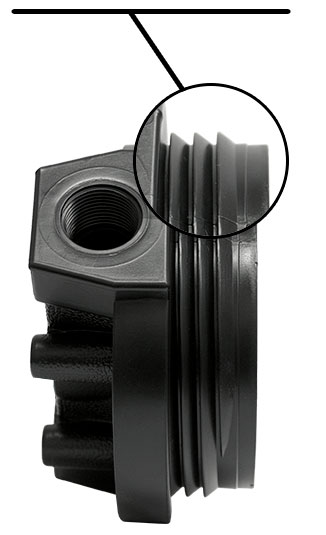
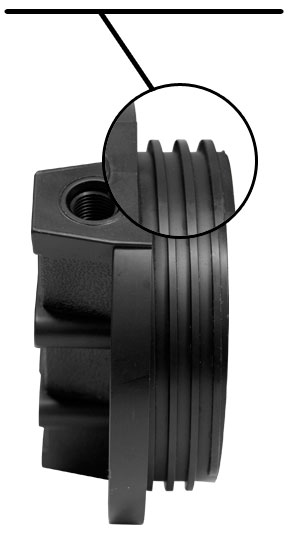
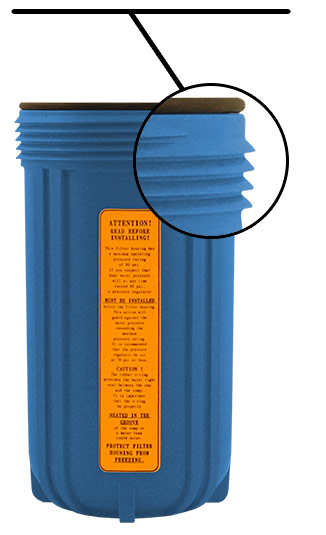
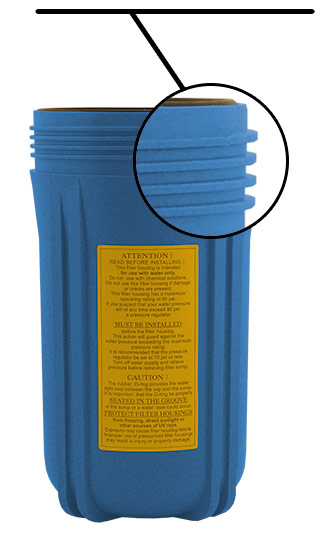
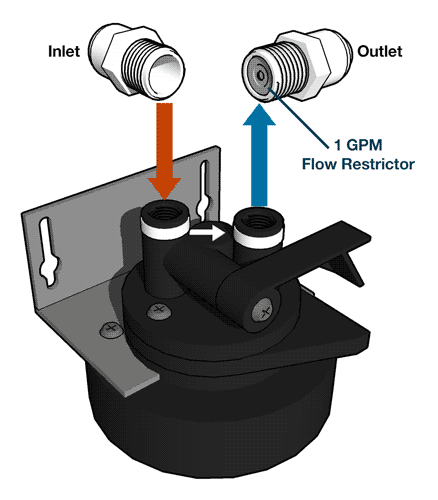
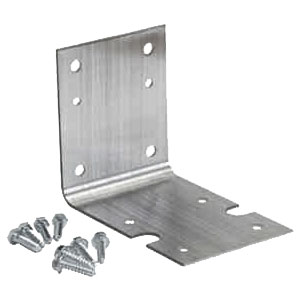
Water Filter Housing Brackets

Mount Water Filter Housings Securely and Cleanly

Water filter housing brackets keep your system stable, accessible, and safe. Whether you are installing a single 10-inch under-sink housing or a 20-inch whole-house setup with multiple canisters, the right bracket prevents strain on piping, reduces vibration, and makes cartridge changes easier.

Key Takeaways

  • Choose bracket size and gauge to match filter housing diameter and weight.
  • Verify hole spacing against your head plate to ensure a true bolt-up.
  • Select stainless steel in damp locations for longevity and a clean look.
  • Mount to a solid backing and keep plumbing stress off the housing.
  • Plan clearance for fast, no-mess cartridge changes.

Our Selection of Water Filter Housing Brackets

  • Sizes and formats: Brackets for 10-inch and 20-inch housings in single, dual, and triple configurations.
  • Materials: Powder-coated steel for general use, stainless steel for damp or corrosive environments, and heavy-gauge options for high-capacity housings.
  • Profiles: L-shape and U-shape wall brackets, flat panel brackets for boards or racks, and wrap-around styles that increase rigidity for larger housings.
  • Hole patterns: Universal patterns that fit many industry-standard heads, plus model-specific patterns for select mounting heads.
  • Hardware options: Versions with or without screws and washers so you can match your application and code requirements.

How to Choose the Right Water Filter Housing Bracket

  1. Match the housing size
    Confirm 10-inch vs 20-inch and standard vs large-diameter body. Larger housings require thicker-gauge brackets with wider standoff.
  2. Check the head pattern
    Measure center-to-center hole spacing and the number of bolts on your head plate. Universal patterns cover most residential heads, but verify before ordering.
  3. Select the material
    Use stainless steel near water heaters, crawl spaces, well rooms, or anywhere moisture is present. Powder-coated steel is ideal for conditioned spaces.
  4. Plan the mount location
    Mount to a stud, masonry, or a solid backer board. Leave vertical clearance under the sump for easy cartridge swaps. For multi-housing rails, ensure level alignment to prevent O-ring leaks.
  5. Consider plumbing stress
    The bracket should carry the housing weight, not the piping. Add unions or flexible tubing to relieve stress during maintenance.

Installation Best Practices

  • Use appropriate anchors for the wall type and the bracket’s load rating.
  • Level the bracket before tightening fasteners.
  • Pre-assemble the housing head to the bracket, then connect plumbing with unions for future service.
  • Leave sump clearance equal to at least the housing length to remove the bowl and cartridge comfortably.
  • In well or whole-house applications, add a shutoff and bypass to simplify maintenance.

Common Applications

  • Under-sink drinking water systems where compact, L-shaped brackets keep the housing tight to the cabinet wall.
  • Whole-house carbon or sediment filters using heavy-duty wall brackets or multi-canister rails.
  • Well rooms and pump houses where stainless-steel brackets resist condensation and surface rust.
  • Light commercial panels that mount multiple housings on a single backer for prefiltration and polishing stages.

Q&A on Water Filter Housing Brackets

Q: How do I know if a bracket will fit my housing head?
A:
Measure the center-to-center spacing of the head’s mounting holes and match it to the bracket spec. Universal patterns fit many residential heads, but always verify spacing and bolt count.

Q: Do I need stainless steel, or is powder-coated steel enough?
A:
Use stainless steel in damp or unconditioned spaces and anywhere corrosion is a concern. Powder-coated steel is suitable for dry, conditioned indoor installs.

Q: Can one bracket support multiple housings?
A:
Yes, select a multi-housing rail or a bracket designed for dual or triple canisters. Ensure the wall and fasteners can support the full weight when the sumps are filled with water.

Q: How much clearance should I leave below the housing?
A:
Leave enough space to remove the sump and cartridge fully, typically the full length of the housing bowl plus room for your hand and a wrench.

Q: What prevents leaks after I remount a housing?
A:
Keep the bracket level, avoid pipe strain, lubricate O-rings with food-grade silicone, and tighten sumps to the manufacturer’s spec. Unions help you service without twisting the head.

Ready to mount your system the right way? Contact H2O Distributors to select the perfect filter housing bracket and hardware for your installation.

Top of Form

Bottom of Form